
Skip to content
30-Day Return Policy
Free Shipping Over $150 | Flat Rate $10
PayPal Afterpay

Cart

Your cart is empty

Kabuki Tanning Brush

Dense Velvety Bristles | Full-Body Contouring Tan Application | Reusable

EMPTY DOM REMOVE PROTECTOR
Sale price$23.95
EMPTY DOM REMOVE PROTECTOR
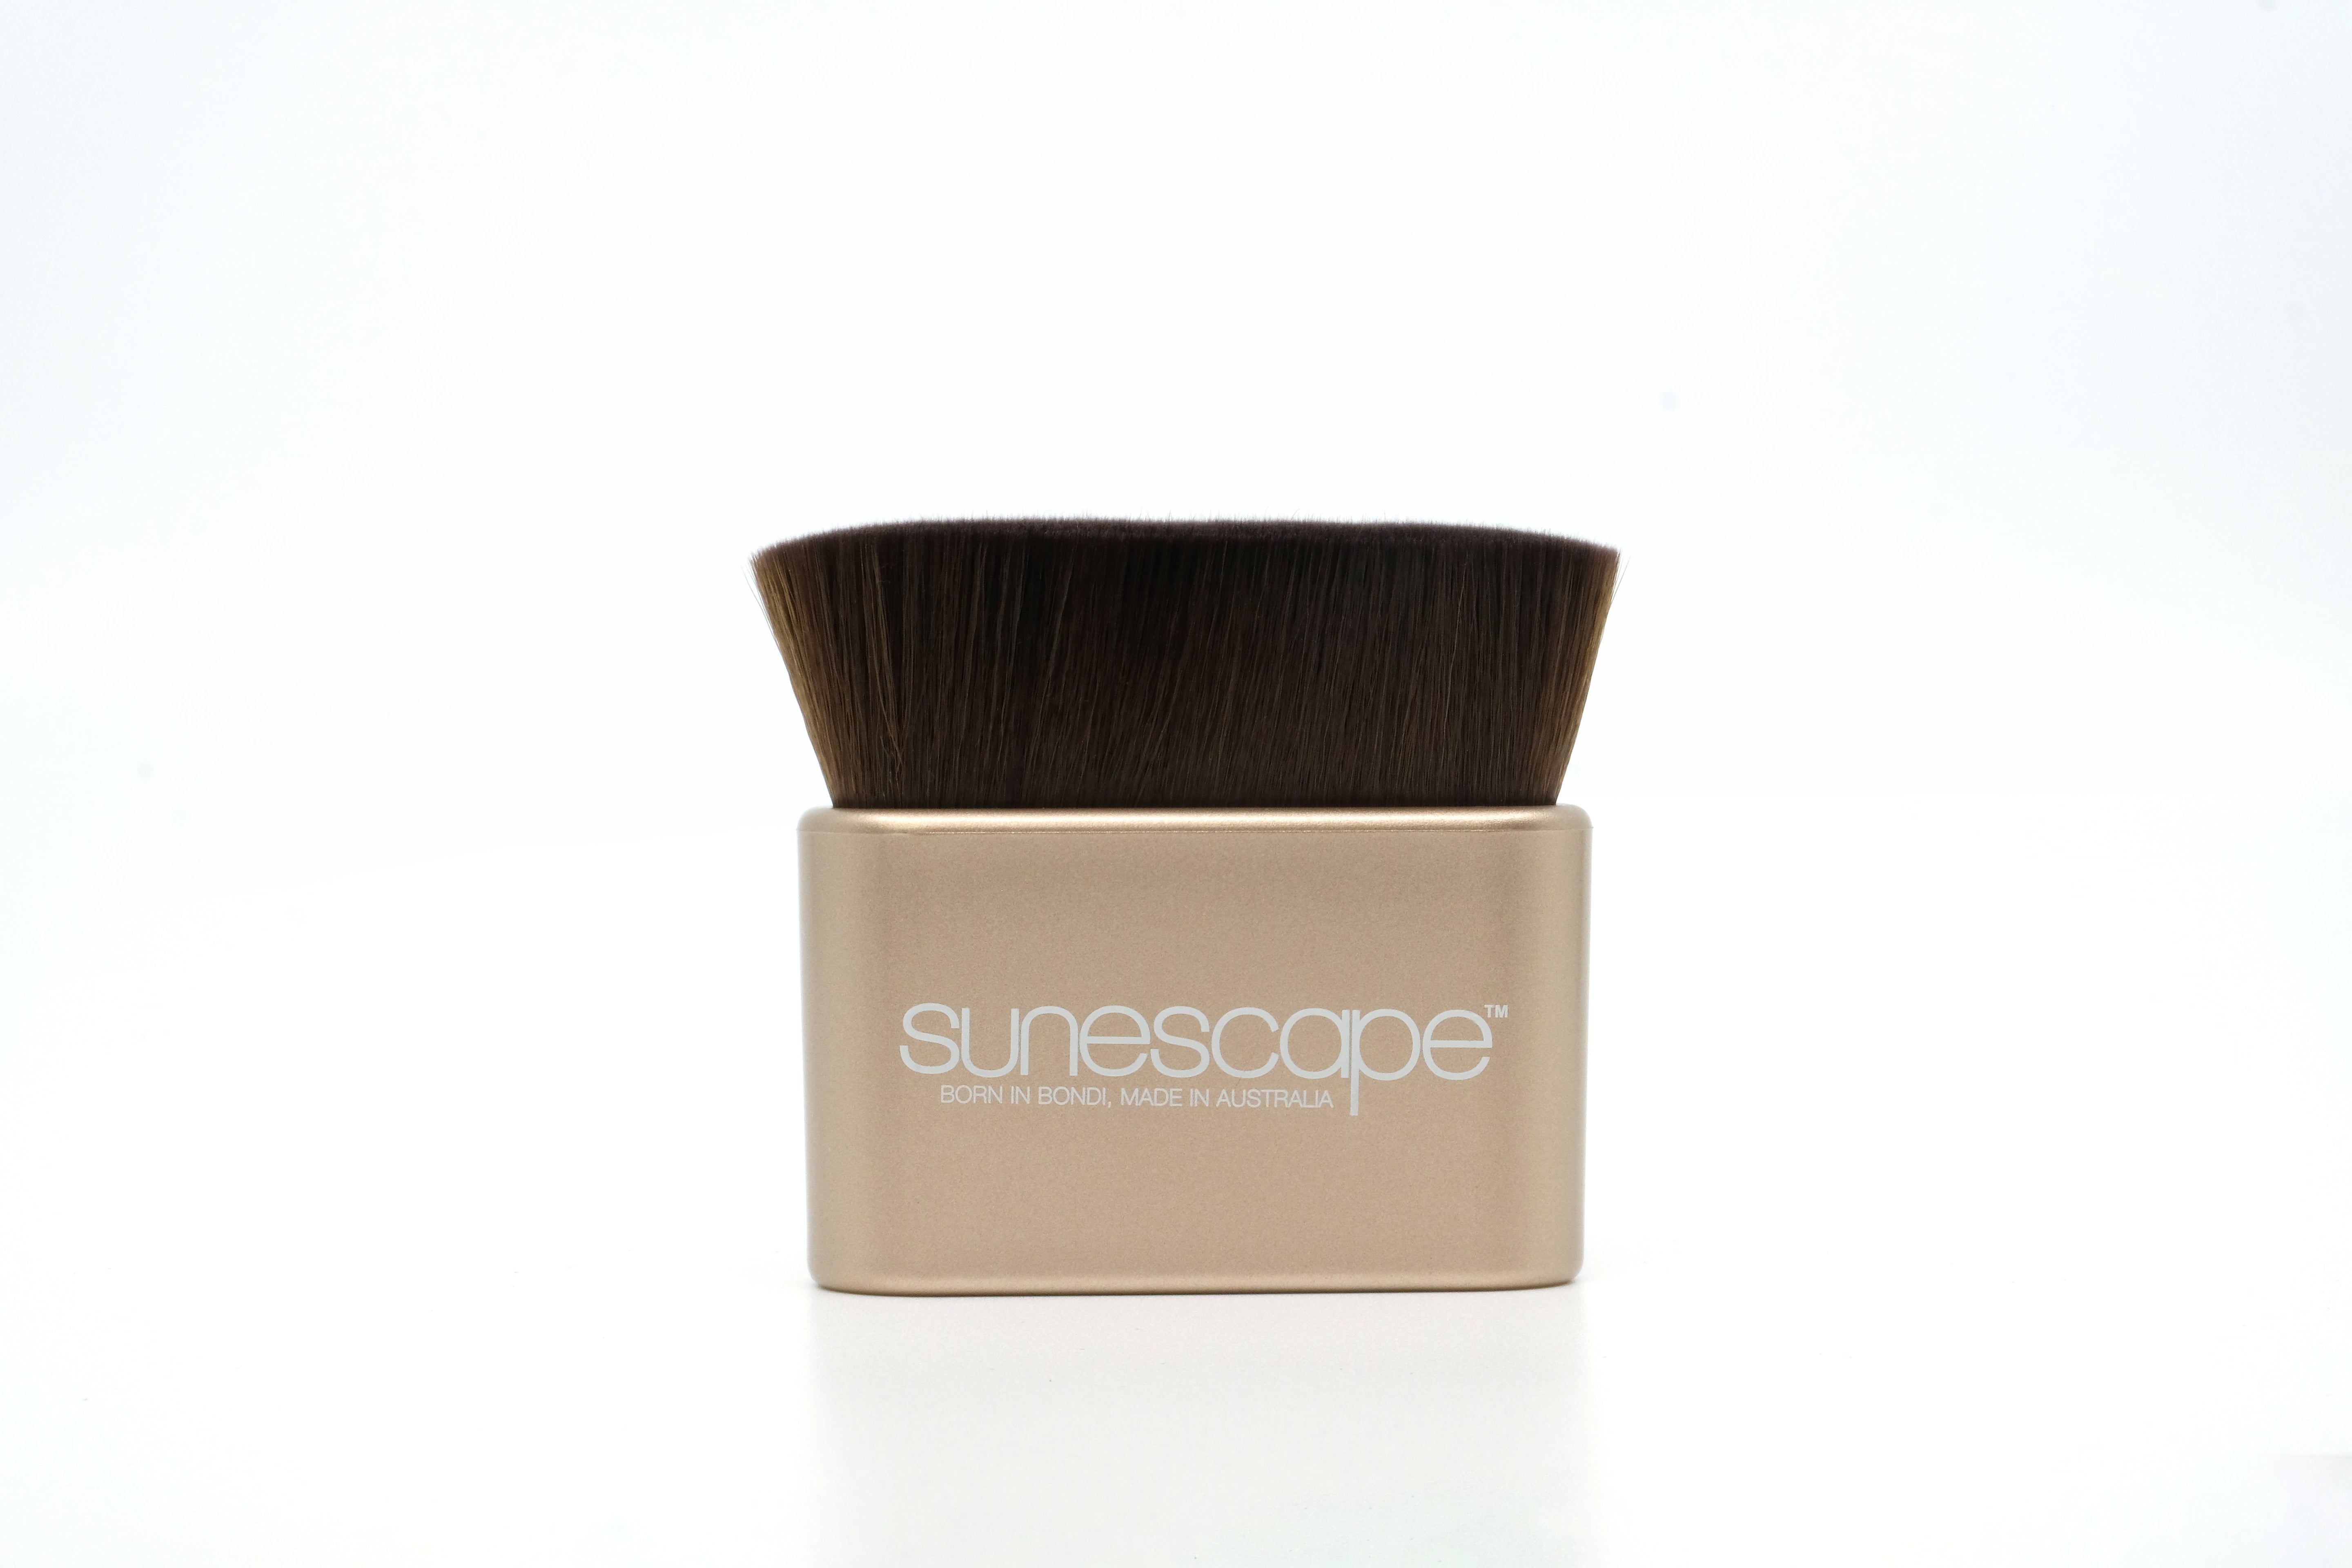
A beige Kabuki tanning brush with velvety-soft bristles, branded with 'Sunescape' on its holder.
Kabuki Tanning Brush Sale price$23.95

Benefits

β€’ Uneven, streaky, or patchy tan application

β€’ Hard-to-reach areas: ankles, hands, wrists, and feet

β€’ Face and neck tan application with controlled coverage

β€’ Professional-level finish from a home application tool

β€’ Upgrade from standard mitt for more experienced tanners

Why You'll Love It

The Sunescape Kabuki Tanning Brush takes tan application to a level that a standard mitt simply can't reach β€” particularly on the body's curves and contours, and on areas that are traditionally difficult to blend. The dense, velvety bristles are shaped to follow the body's natural lines, picking up product evenly and distributing it with a smooth, circular buffing motion that presses the formula into the skin for a seamless, airbrushed result. Where a flat mitt glides across the skin's surface, the kabuki's bristles work into the curves of elbows, knees, and ankles β€” the areas where tan most commonly grabs and goes darker. The product that stays on the brush after the main application area is done is the ideal amount for blending into hands, feet, and other tricky spots β€” a natural residue that provides sheer, even coverage without overloading. The same brush can be used with the Instant Self-Tan Mousse, the Dry Tanning Body Oil, and the Gradual Tan Extender. It's also the recommended tool for applying tan to the face and neck, where the softer bristle action allows for more controlled, lighter coverage than a mitt. Reusable. Easy to clean with warm, soapy water. A worthwhile investment for anyone who tans regularly.

How To Use

Ensure skin is clean, exfoliated, and free of moisturiser before tanning. Apply your chosen Sunescape tanning product directly onto the brush bristles. Working in sections, move the brush in circular motions over the skin to evenly buff product in. Use the product residue remaining on the brush to lightly blend over ankles, hands, wrists, and feet. For the face and neck, use a lighter circular motion with less product on the brush.

Care instructions: Rinse thoroughly in warm, soapy water immediately after use. Lay flat to dry completely before storing. Do not store with bristles down.

Skin Types

All Skin Types

Regular Self-Tanners Wanting Upgraded Application

Hard-to-Blend Areas: Ankles, Hands, Feet

EMPTY DOM REMOVE PROTECTOR
Tina Roche skincare results guarantee

YOUR RESULTS ARE GUARANTEED

If you're not seeing visible results within 30 days, contact us. We'll make it right - no hassle, no fine print.

Your questions, answered by your NP

Kabuki Tanning Brush- everything you need to know before you buy.

What does a kabuki brush do differently from a tanning mitt?

The tanning mitt and the kabuki brush solve different problems in the same self-tan routine β€” understanding the difference explains why experienced tanners often use both. A mitt is a flat contact surface: it glides across the skin and deposits product on the surface in long strokes. This is efficient and effective for the large flat planes of the body β€” the thighs, calves, torso, and upper arms β€” where a single continuous stroke covers the most area most quickly. The kabuki brush has dense, velvety bristles arranged in a dome head: rather than gliding across the surface, the bristles work into the skin's natural texture and contours in circular buffing motions, pressing the formula into the skin rather than simply depositing it on top. This distinction matters most in two situations. First, on contoured body zones where a flat surface can't maintain even contact β€” knees, elbows, ankles, the back of the heel, and the wrist crease β€” the rounded dome of the kabuki maintains consistent bristle contact regardless of the curve, distributing product evenly into zones where a mitt either slips or deposits too heavily. Second, on the face and neck, where a mitt is simply the wrong tool: too large, too much product per application, and no ability to work with precision around the nose, hairline, and jawline. The kabuki brush is the correct tool for face tanning β€” the bristle action allows for lighter, more controlled product distribution across the face than any mitt can provide.

Is it suitable for face and neck tanning β€” and does the face need a different technique?

Yes β€” and the face is where the kabuki earns its most meaningful place in a tanning routine. Most self-tanners skip the face entirely or apply a small amount with their fingers, which creates the visible demarcation line between the tanned neck and the untanned face that immediately identifies a self-tan as a self-tan. The kabuki solves this with a lighter-handed version of the same circular buffing technique used on the body. For the face: load the brush with significantly less product than a body application β€” a pea-sized amount of the Gradual Tan Extender is the recommended face formula, as it builds gradually rather than committing to the full depth of the Instant Self-Tan Mousse in a single application. Tap off any excess before applying. Work in small circular buffing motions from the centre outward, avoiding the brow, hairline, and eye area. Use lighter pressure than on the body β€” the face needs sheer, buildable colour rather than the full-depth result on the body. The hairline is the zone to work carefully: brush colour up to the hairline with a light, almost dry brush to avoid the tan sitting heavily on the skin immediately above the hair. The result is a seamlessly matching face-to-body tan that removes the demarcation line β€” the most professional result achievable with at-home tools.

How do I use it for the full body β€” technique step by step?

Prep is the same as any Sunescape product: exfoliate 24 hours before, ensure skin is clean and free of moisturiser, and apply a light barrier of moisturiser to the driest zones (knees, elbows, ankles, heels) before starting. Loading the brush: apply your chosen Sunescape formula directly to the bristles β€” one to two pumps of mousse, or an equivalent amount of oil or gradual tan. Don't overload; the buffing technique works best with a moderately loaded brush rather than a saturated one. Body application: working in sections, use circular buffing motions β€” the same technique as the YB1 Kabuki for mineral foundation, for clients familiar with that product. Apply moderate pressure on the large body planes and reduce pressure on transitions. Let the brush's dome geometry do the contouring work at the knees and elbows β€” don't force the flat face of the brush into these zones, let the bristles follow the curve. Residue technique: the product remaining in the brush after the main application is ideal for hands, feet, wrists, and ankles β€” it provides the perfect sheer, light coverage for these zones without over-loading them. Apply with the residue-only brush in the same circular motion without adding more product. Face: same technique with significantly less product and lighter pressure, last step after the full body application.

Which Sunescape formulas work best with it β€” and which doesn't suit it?

Compatible with three of the four Sunescape formulas. Instant Self-Tan Mousse: excellent β€” the mousse loads into the bristles cleanly and the circular buffing action distributes it seamlessly. The brush is particularly effective here because the buffing technique presses the DHA formula into the skin surface rather than leaving it on top, which improves both the evenness of the colour and its staying power. Gradual Tan Extender: the recommended formula for face and neck application specifically β€” the gradual build prevents over-commitment on the face in a single session, and the brush distributes the cream texture more evenly than fingers. Dry Tanning Body Oil: works with the brush β€” apply a small amount to the bristles and buff in circular motions. The oil loads differently from mousse (slower absorption into the bristles), so use slightly less product than with the mousse and work in smaller sections. The Illuminating Body Tint (wash-off bronzer): the kabuki is less suited to this formula than the mitt β€” the pigment particles in the tint deposit less evenly through bristles than across a flat velvet surface, and the wash-off formula benefits from the long sweep strokes a mitt provides better than the circular buffing of a brush.

Kabuki Brush or Luxe Mitt β€” which one do I need, and should I own both?

Each solves a distinct problem and the clearest answer is: they're complementary, not competing. The Luxe Mitt ($14.95) is the most efficient tool for the large flat body planes β€” thighs, calves, torso, upper arms β€” and for the initial product application across the majority of the body surface. Its thumb section handles most of the curve work on a standard application. The Kabuki Brush ($23.95) is the precision tool for three specific situations: blending into highly contoured zones (ankles, behind the knees, elbows) more effectively than the mitt; face and neck application where the mitt is the wrong tool entirely; and achieving the airbrushed, buffed-in result that the circular bristle technique produces versus the sweeping mitt technique. The combined workflow that produces the best results: Luxe Mitt for the main body application in long sweeping strokes, then Kabuki Brush for the detail work at knees, elbows, and ankles, then Kabuki Brush with minimal product for the face and neck. At $38.90 combined, this two-tool kit is the most complete at-home self-tan application setup available from the Sunescape range. For clients who only want one: Luxe Mitt if you skip the face and primarily tan the body; Kabuki Brush if you want to include the face or specifically struggle with the ankle, knee, and elbow blend.

How do I clean it β€” and how long will it last?

Clean immediately after use β€” the DHA formula stains bristles permanently if left to dry. Rinse the brush head under warm running water immediately, work a small amount of mild soap through the bristles in gentle circular motions, and rinse until the water runs clear. The How To Use instruction is correct and important: do not store with bristles down β€” the water that remains in the bristle base after washing should drain away from the ferrule, and storing bristle-down causes that water to sit in the ferrule, loosening the adhesive and causing shedding. Lay flat to dry on a clean towel or stand in a holder with bristles up. Despite being a tanning tool rather than a makeup brush, the drying and storage guidance is identical to the Youngblood brush range for the same mechanical reason. With correct care β€” immediate rinsing after each use, laid flat to dry β€” the Kabuki Tanning Brush lasts approximately 20–30 applications before bristle staining or matting affects performance. Visual indicator: when the bristles are permanently stained and matted in sections that don't release with washing, the even buffing distribution is compromised and the brush should be replaced.